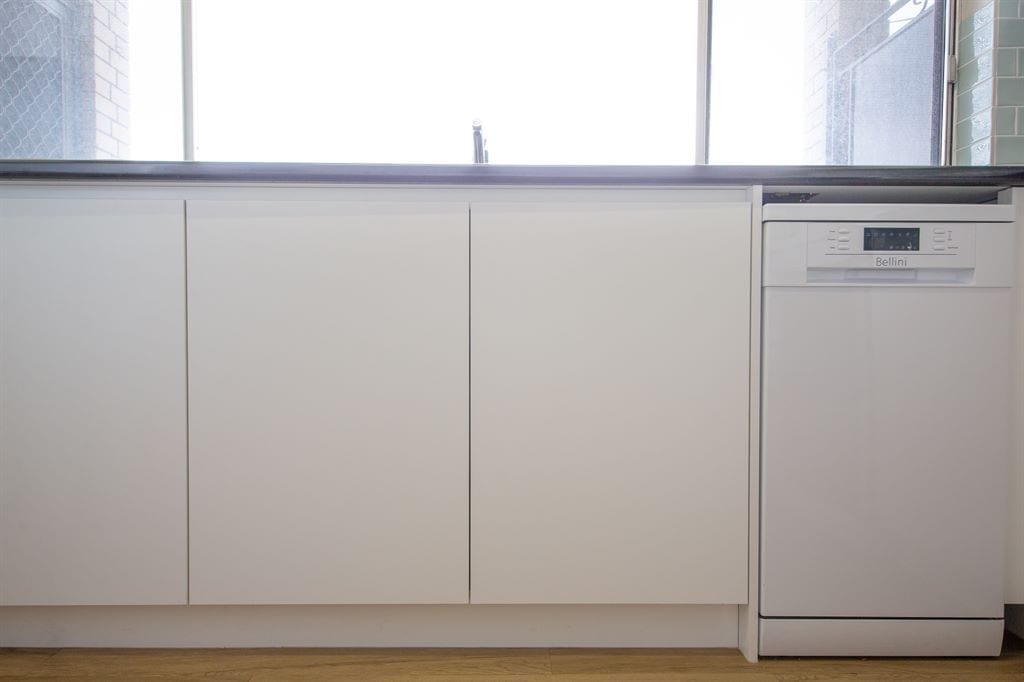
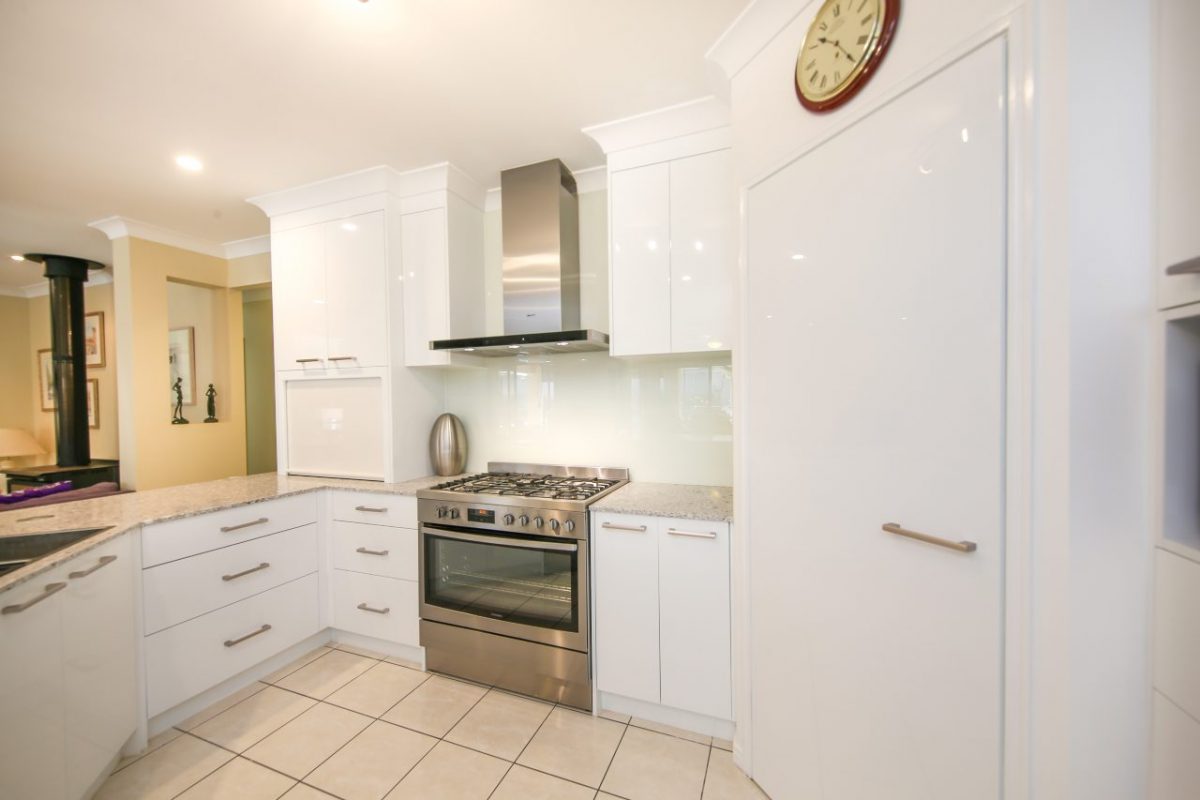
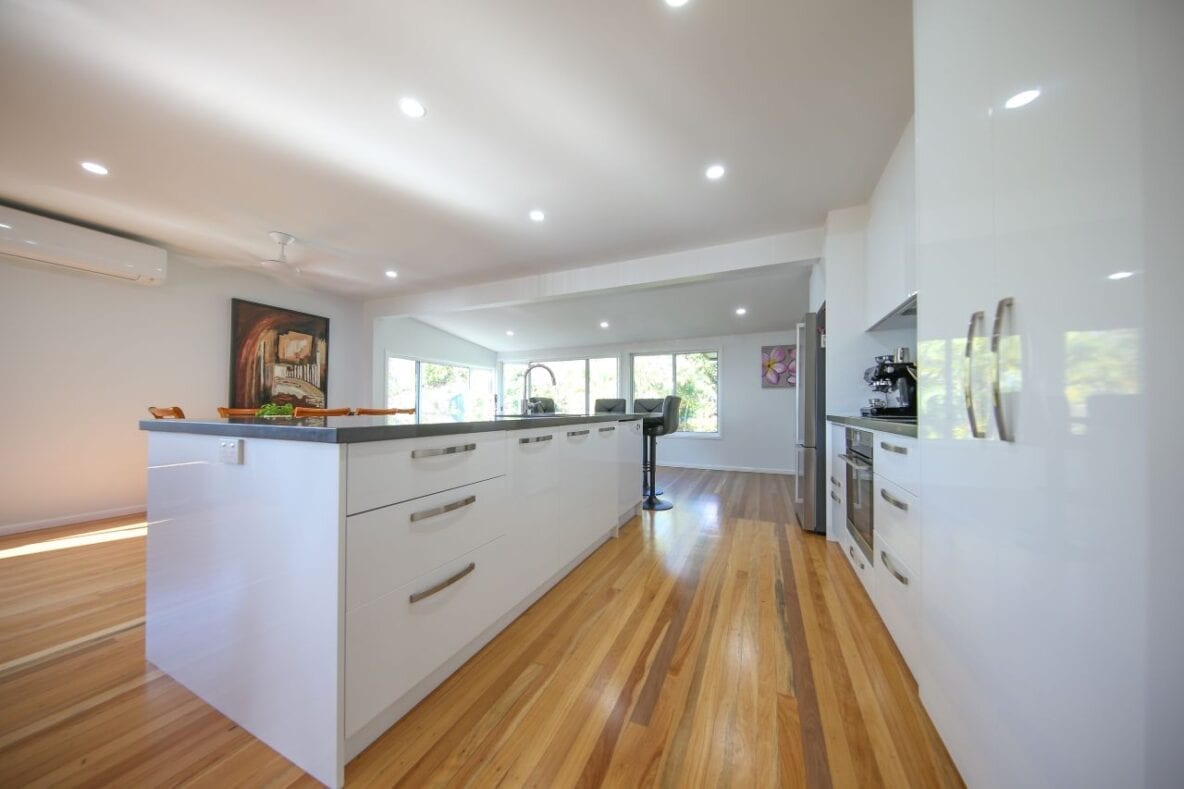
Something as simple as a fresh lick of paint can add value, style, and functionality to your kitchen. Kitchens are known as the heart of the home for good reason, being the place where the family congregates for meals, homework, meetings, work and play. With so much activity occurring in our kitchens, it’s no wonder that our cabinet paint starts to wear down over time. If you’re not prepared to replace your kitchen cabinets at this point, try updating your cooking space with newly painted laminate cabinets.
Today, we’ll look at how to freshen up your dated or worn laminate kitchen cabinets with a coat of new paint.
Let’s talk laminate

Painting laminate cabinets offers a budget-friendly and effective way to update the appearance of your kitchen quickly and simply. With some time, elbow grease and the right materials, your kitchen can be more customised, richer in appearance and modernised. Because the cost of installing custom cabinetry and completing a full kitchen renovation is not always financially viable, more and more people are turning to the DIY process to bring their kitchens back to life.
Laminate is the workhorse of the building world, being as thin as a credit card yet as tough as leather, and customisable to give different looks from hardwood to vibrant enamel or patterned wallpaper. Highly resistible to water staining, cracking, fading, or stretching, laminate has been installed in kitchens, laundries, and bathrooms for almost 100 years without fail.
Despite years of reliability, modern architecture and design have resulted in a revolt against what was considered in vogue in the 1950s and ’60s. While the structure and integrity of laminate remain, the old woodgrain look, or sad remnants of former vibrant colours leave much to the imagination.
This is where painting your laminate cabinets becomes a perfect renovation solution to increase your home’s value.
How to paint over laminate
Before you begin, make sure you’ve got everything you may need to complete your project. There are a few handy and essential tools for you will need to paint laminate cabinets.
Materials
- Dulux plastic and laminate primer
- Dulux enamel paint
- Dust mask and eye protection
- Paintbrushes and/or a paint roller
- Cloths and a bucket
- Rubber gloves
- An orbital sander or sanding paper
- Screwdriver or a drill
- A wood glue and clamp
- Scrubbing brushes
- A vacuum
- Painters tack cloth
- Selley’s sugar soap and sugar soap wipes
Set aside most of your budget with high-quality paint and primer. Choosing the wrong primer and paint will negatively impact your cabinets, from the application quality to the overall durability.
For the best results, ensure your primer is compatible with your paint i.e., acrylic or oil based. Your enamel topcoat should be strong enough to withstand the daily abuse, grease, and grime that kitchen cabinets are susceptible to. Generally, it’s best to use a satin instead of a glossy finish to keep those fingerprints and dust marks at bay.
Prepare
- Clean up any built-up grime, dust or dirt with a good laminate cleaner to prepare your cabinets for paint.
- Remove any hardware from your doors or drawers.
- Sand down your existing cabinet laminate.
Tips for sanding
Sanding the laminate will scuff the surface to provide a decent base for the primer to attach to. It’s important to avoid sanding through the laminate which is often paper-thin. With light pressure, avoid making too many passes over one section while still achieving an effective roughness. During this process, keep an eye out for any spots where the laminate is coming loose, and the adhesion is failing. If this is left unaddressed it will ruin your new paint job. Repair these spots using a good wood glue and a clamp to apply pressure.
Begin application
- Apply a base coat of primer to your cabinets. Be careful not to rush the application of your paint after applying your primer. Wait as long as possible and then a touch longer to make sure your primer is completely dry.
- Sand the primer very lightly to smooth. Vacuum any residue and wipe gently with a painter’s tack cloth.
- Apply paint to primed cabinets using your choice of applicator (brush, roller, or spray gun). Be careful not to select a method that is outside of your skill level.
- Wait at least 1 day for first coat of paint to dry.
- Apply the final coat of paint to your cabinets.
- Allow the final coat of cabinet paint to cure for up to a week before reattaching doorknobs and subjecting your cabinets to day-to-day use.
Aftercare tips for painted laminate kitchen cabinets

To care for your cabinets, simply avoid harsh cleaners.
Harsh cleaners include
- Bleach
- Solvents
- Petroleum-based products
- Strong detergents
- Soaps
- Steel wool
- Ammonia
Do this instead: Some warm water and a soft cloth should be enough for daily wipe downs, adding some vinegar to remove sticky grime or grease. Excessive moisture is an enemy for any type of finish, so make sure to keep cabinets near the dishwasher or sinks nice and dry.
With patience, the right tools for the job and just the right amount of DIY skill, you can update your kitchen cabinets to be on-trend, blending seamlessly with the updated style of your home. With proper care, your cabinetry can last the lifetime of your home. Once your cabinets have received their facelift, the durability of the paint and the prep work that you put into them should add even longer to their lifespan.
Need a full kitchen renovation instead?
Sometimes, even the best paint job isn’t enough to bring a tired or outdated kitchen back to life. If you’d rather start from scratch, check out our estimates of what a kitchen renovation may cost you.
With our complete custom kitchen renovations, you can leave the prep work, design, construction, and finish to the professionals. Whether your kitchen needs an upgrade to boost the value of your home, or if the design simply doesn’t suit your growing family, our personal touch and depth of experience make us the perfect team to partner with for your complete kitchen solutions.
If you need more than a simple paint job, contact our friendly team today. With a dedicated project manager and a personalised process, creating a new kitchen has never been more straightforward.

